- Amazon
- Flipkart
- Meesho
- Amazon Seller FlexNew
- Shipping Label GeneratorShipping LabelNew
- IndiaMart CRM
- Other tools
- Price
- Login

27-09-2026 · PDF Cropper
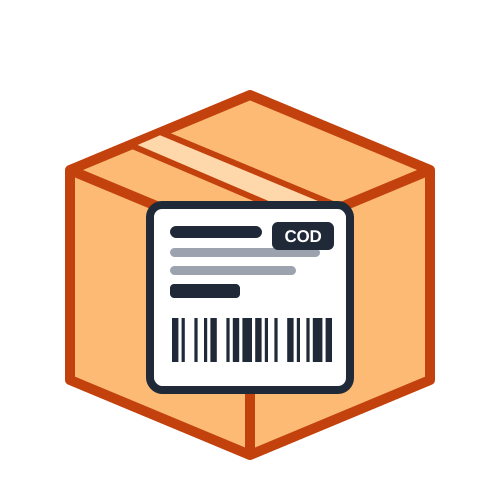
If you keep your orders in Excel or Google Sheets, typing each address into a label one by one is a waste of time. The Shipping Label Generator can read the whole sheet and print a label for every row in one PDF. Here is how to print shipping labels from Excel in bulk, for free, and ready for any courier.
Making labels one at a time is fine for two or three orders, but it becomes slow and error-prone once you ship twenty or more a day. Copying addresses by hand leads to typing mistakes, missed orders and labels printed twice. When you print from your order sheet, every label uses exactly the data you already have, and the whole batch is ready in the time it takes to upload one file.
Download the sample Excel file from the tool and use it as a template. Each row is one order, and the columns are Order ID, Order Date, Customer Name, Address, City, State, Pincode, Phone, Payment, COD Amount, Courier, Tracking No, Weight, Dimensions, Boxes, Product, SKU, Qty, Invoice Value and GSTIN. Only the customer name, address and pincode are required; everything else is optional.
Put the full address in one cell and use separate columns for city, state and pincode.
This stops Excel from dropping leading zeros or changing long numbers.
Write COD in the Payment column or enter an amount in COD Amount; other rows are treated as prepaid.
For orders shipped in more than one box, enter the number of boxes to get one label per box.
Switch to Bulk in the tool and upload your .xlsx or CSV file. You can also copy the rows, including the header, straight from Excel or Google Sheets and paste them into the text box. The tool reads the column names, so your own order report often works without changes.
Before printing, check the messages under the settings. Rows with a missing name, address or pincode are skipped and listed with their row number, so you can fix them in the sheet. Pincodes that are not 6 digits, phone numbers that are not 10 digits and COD orders without an amount are flagged as warnings.
In bulk mode you can sort labels by pincode, courier, product or payment. Sorting by courier gives you one stack per pickup partner, while sorting by product makes picking faster when many orders contain the same item. Turn on the summary page to get the number of orders and labels, prepaid and COD counts, the total COD amount to collect, orders per courier and the quantity of each product - a ready-made pick list and handover sheet.
For a thermal printer, choose 4 × 6, 4 × 4 or 3 × 5 inch labels and print one label per page. For a normal printer, choose A4 with 4 or 2 labels per page and cut them apart after printing. Always print at actual size so the tracking barcodes scan at pickup.
Many sellers work with several couriers - one for local deliveries, another for long distances and India Post for remote pincodes. Add the courier name to each row, and sort the labels by courier before printing. Each courier then gets its own neat stack of parcels, and the summary page shows how many parcels each pickup agent should collect, so handovers are quick and nothing is left behind.
Printing labels straight from your order sheet turns an hour of copying into a few minutes of checking. Prepare the sheet once, upload it each day, and let the generator do the rest. If you also need product barcodes, the Barcode Generator uses the same simple Excel upload.
Last Updated: 23-09-2026